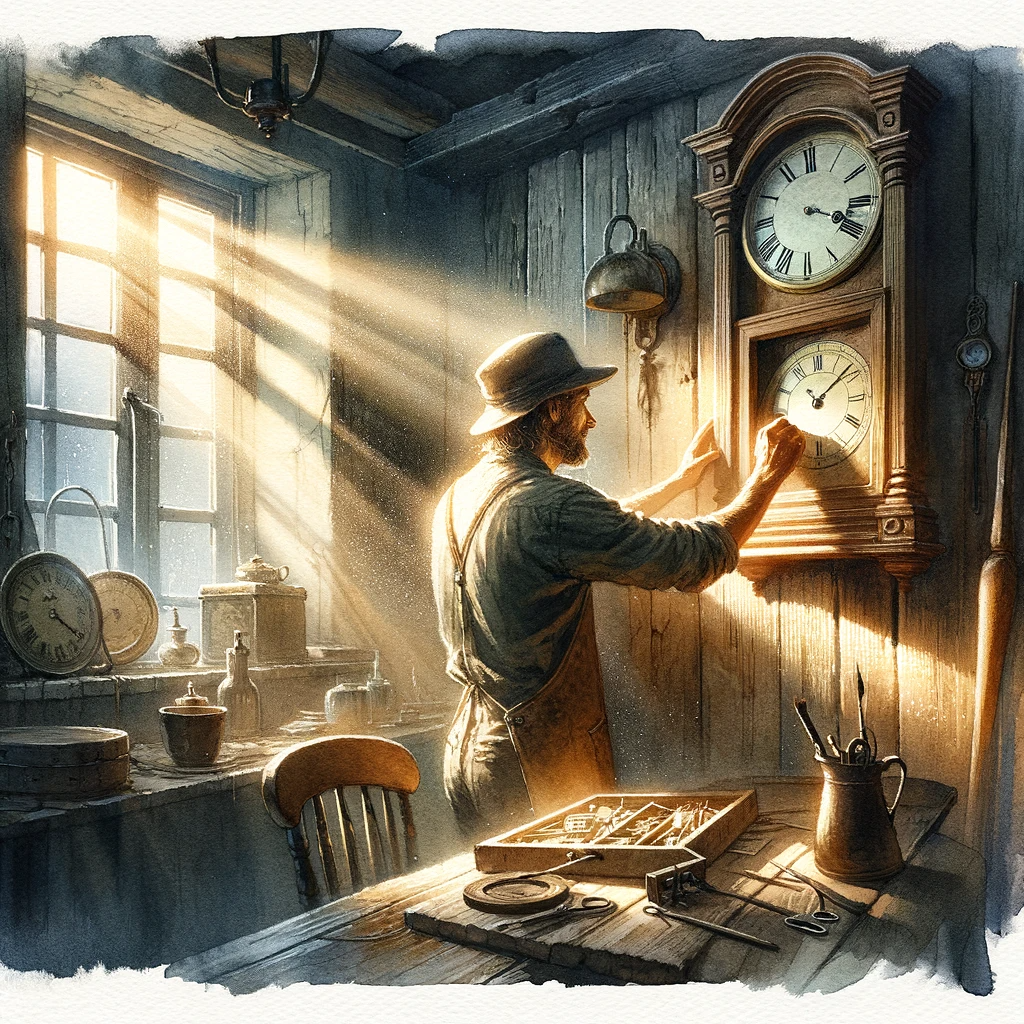
Introduction
Wall clocks are more than just time-telling devices; they serve as functional and decorative pieces that add character to any space. With their unique designs and styles, wall clocks have the power to enhance the aesthetics of a room while providing practicality. Properly hanging and installing wall clocks is essential to ensure their functionality and longevity.
The Importance of Wall Clocks as Functional and Decorative Pieces
Wall clocks serve an important purpose in our daily lives by helping us keep track of time. Whether it’s for meetings, appointments, or simply staying on schedule, having a well-placed wall clock allows us to stay organized and punctual. Additionally, wall clocks can be stylish additions to any room, complementing the overall décor theme.
They come in various shapes, sizes, and designs, ranging from classic analog clocks with Roman numerals to modern digital displays. The right wall clock can act as a focal point or create an interesting visual element in your space.
Overview of the Steps Involved in Hanging and Installing Wall Clocks Properly
To hang and install a wall clock properly, several steps need to be followed meticulously. First, you will need to choose the right location for your clock based on aesthetics, visibility, and functionality factors. Next comes gathering the necessary tools such as measuring tape, leveler pencil hammer screwdriver hooks brackets screws or nails etc.
Once you have selected the ideal location for your clock and gathered all the required tools and materials, you’ll need to measure accurately mark the central point on the wall using a measuring tape pencil. After marking the position on your wall while considering its height from eye level perspective; if alignment is off by even half an inch it may throw off whole arrangement balance so it’s important take extra care when marking placement points accordingly.
Choosing the Right Location
The Art of Aesthetics
Consider room aesthetics when selecting a location for your wall clock. Assess the overall style and theme of the room to ensure that the clock complements the existing décor. If your room features a modern design, opt for a sleek and minimalist clock.
For a rustic or vintage-inspired space, consider choosing a clock with ornate details or an antique finish. By harmonizing your wall clock with the surrounding environment, you can enhance the visual appeal of your space.
Visibility Matters
When choosing where to hang your wall clock, prioritize visibility to ensure that it can be easily read from across the room. Select a spot where it will be easily visible at eye level and avoid obstructing objects such as furniture or curtains that may hinder readability. By placing it in a central position on one of the walls, you can maximize its visibility and make it effortlessly readable from various angles within the room.
The Functionality Factor
Functionality is another crucial aspect to consider when deciding on the location for hanging your wall clock. Think about which area in the room would benefit most from having quick access to timekeeping.
Common areas such as living rooms, kitchens, or home offices often benefit from having clocks as they provide convenience and help keep track of time during daily activities. Identify spaces where you frequently spend time and could benefit from having a functional timepiece nearby.
Avoiding Sunlight and Other Factors
To preserve its functionality and longevity, it’s important to avoid mounting your wall clock in direct sunlight or near heat sources that can cause temperature fluctuations. Direct exposure to sunlight may fade colors over time or damage delicate components inside certain clocks. Additionally, extreme temperature changes can affect accuracy or interfere with mechanical components such as pendulums or chimes.
Similarly, high humidity areas like bathrooms or damp basements can lead to moisture damage, affecting the clock’s mechanisms or causing mold growth. To ensure your clock remains in optimal condition, choose a location away from these potential hazards.
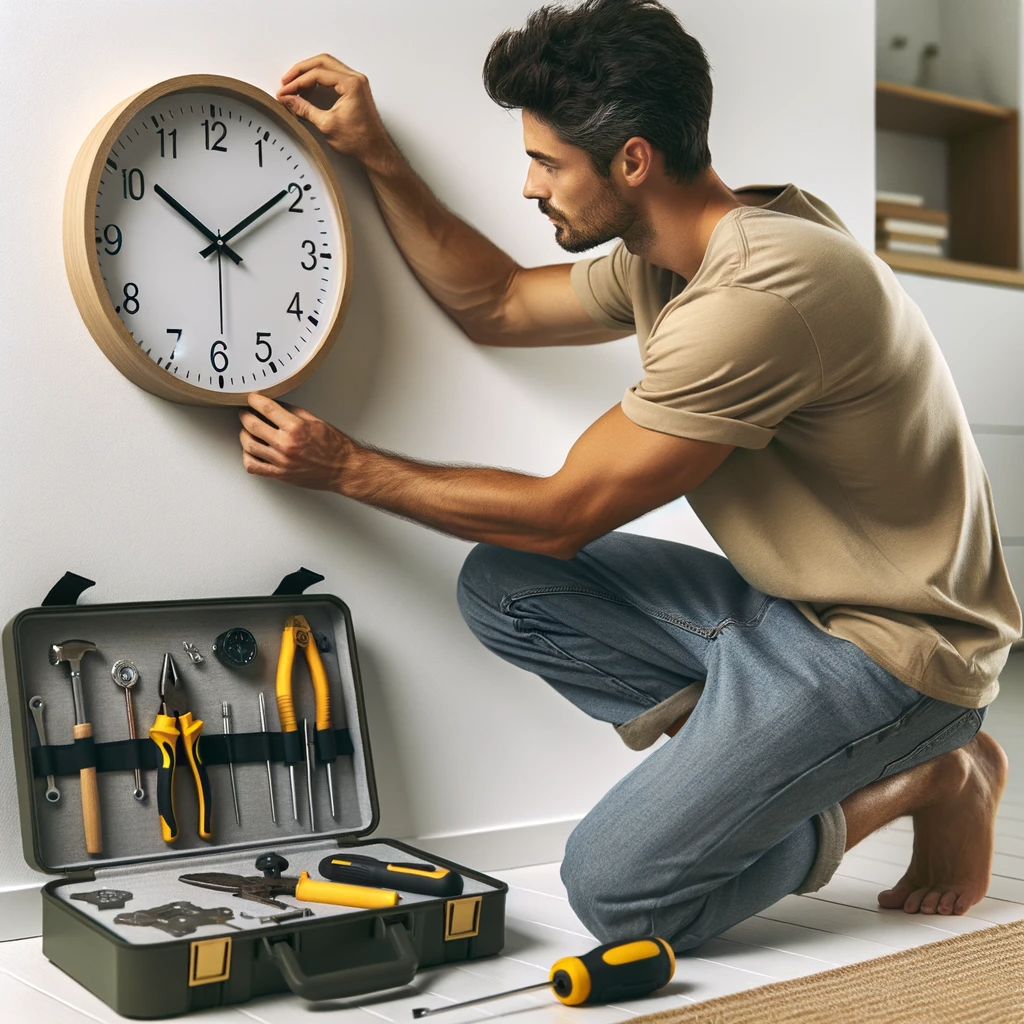
Gathering the Necessary Tools and Materials
Common tools:
- You will need a measuring tape to accurately measure the height and position for hanging your wall clock.
- A level is essential to ensure that your clock hangs straight and doesn’t tilt to one side.
- Use a pencil to mark the desired location on the wall for your clock.
- A hammer will be necessary to drive nails or screws into the wall to support the mounting hardware.
- Keep a screwdriver handy for attaching mounting hardware or adjusting screws.
Clock-specific materials:
- Depending on the type of wall clock you have, you will need specific mounting hardware such as hooks or brackets.
- These allow you to securely hang your clock on the wall.
- Make sure you have appropriate screws or nails that are strong enough to hold the weight of your clock.
- Consider using anchors if you’re attaching heavy clocks or if your walls are made of materials like drywall that may not provide sufficient support.
Remember, having all these tools and materials ready before starting the installation process will make it easier and more efficient.
Measuring and Marking the Wall
Determining the desired height for the clock placement.
Consider the room’s purpose and furniture arrangement when deciding on the clock’s height.
- Aim for eye-level placement, typically around 57 to 60 inches from the floor.
- Take into account people’s average heights in your household to ensure easy readability.
- Using a measuring tape to mark the center point on the wall with a pencil.
- Measure and mark the wall horizontally at eye level, indicating where you want your clock’s center to be.
- Use a measuring tape to find the midpoint of your chosen location by measuring left and right from nearby objects or walls, then marking it with a pencil.
- Double-check this measurement to ensure an accurate center point before proceeding with installation.
Mounting Options for Different Types of Clocks
Standard Wall Clocks
- Attach hooks or brackets to the back of the clock case.
- Align hooks/brackets with marked center point on wall and secure them in place.
- Ensure that the hooks or brackets are positioned correctly to support the weight of the clock.
- Use a level to check if the clock is straight before finalizing its position.
- Double-check that the hooks or brackets are securely fastened to prevent any accidents or damage.
Pendulum Clocks
- Ensure proper clearance for pendulum swing by measuring the distance from hook to floor.
- Mount a sturdy hook at an appropriate height that accommodates pendulum movement without obstruction.
- Consider the length of the pendulum when determining where to place the hook.
- Take extra care in aligning and securing the hook since pendulum clocks require sufficient space for swinging motion.
- Use a level to ensure that both the clock case and pendulum are properly aligned.
Large or Heavy Wall Clocks
- Choose a secure mounting method, like using wall anchors or drilling into studs, depending on your wall type and clock weight.
- Determine if your wall requires additional support due to its material or if an anchor will provide enough stability.
- If necessary, coordinate with a professional who can help with proper anchoring techniques.
- Enlist another person’s assistance in holding and aligning the clock during installation, especially when dealing with heavy clocks.
- The person can help you verify that it is level and centered as you secure it in place.
- Remember, safety is crucial when handling large or heavy objects during installation.
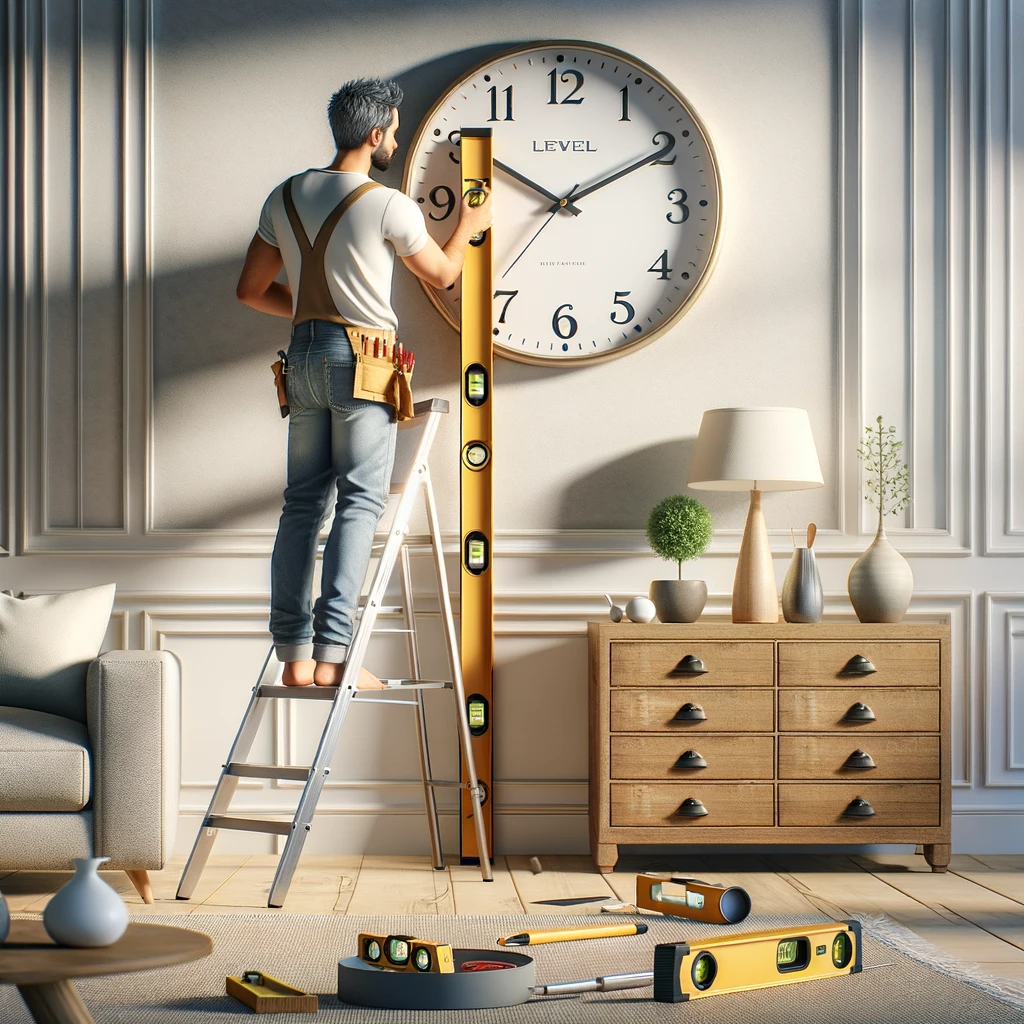
Leveling and Securing the Clock
A Balanced Clock for Perfect Timekeeping
Double-check alignment using a level. Adjust position if necessary by sliding hooks/brackets. Tighten screws.
To ensure your wall clock functions flawlessly and keeps perfect time, it is crucial to level and secure it properly. Begin by placing a level on top of the clock frame or case.
Carefully adjust the position until the bubble in the level is centered, indicating that it is perfectly horizontal. If needed, gently slide the hooks or brackets along the wall, making slight adjustments to achieve proper alignment.
Once satisfied with the arrangement, use a screwdriver to tighten all screws securely. A balanced clock guarantees accurate timekeeping while also enhancing its visual appeal.
Conclusion
Hanging and installing wall clocks properly requires attention to detail and careful execution. By choosing an appropriate location, gathering the necessary tools and materials, measuring accurately, selecting suitable mounting options, and ensuring proper leveling and securing techniques are employed, you can enjoy a functional and aesthetically pleasing timepiece in any room of your home or office.
Remember that hanging wall clocks can be a creative endeavor that adds personality to your space while serving its practical purpose.
So embrace this opportunity to showcase your style through unique clock designs or arrangements. With proper installation and care, your wall clocks will not only complement your decor but also serve as timeless symbols of punctuality in your life.